Studio Portraits Without a Studio: 7 Lighting Setups
A studio is not a room, it is control of light. Here are the seven setups worth naming in a prompt, and what each one does to a face.
mypromt
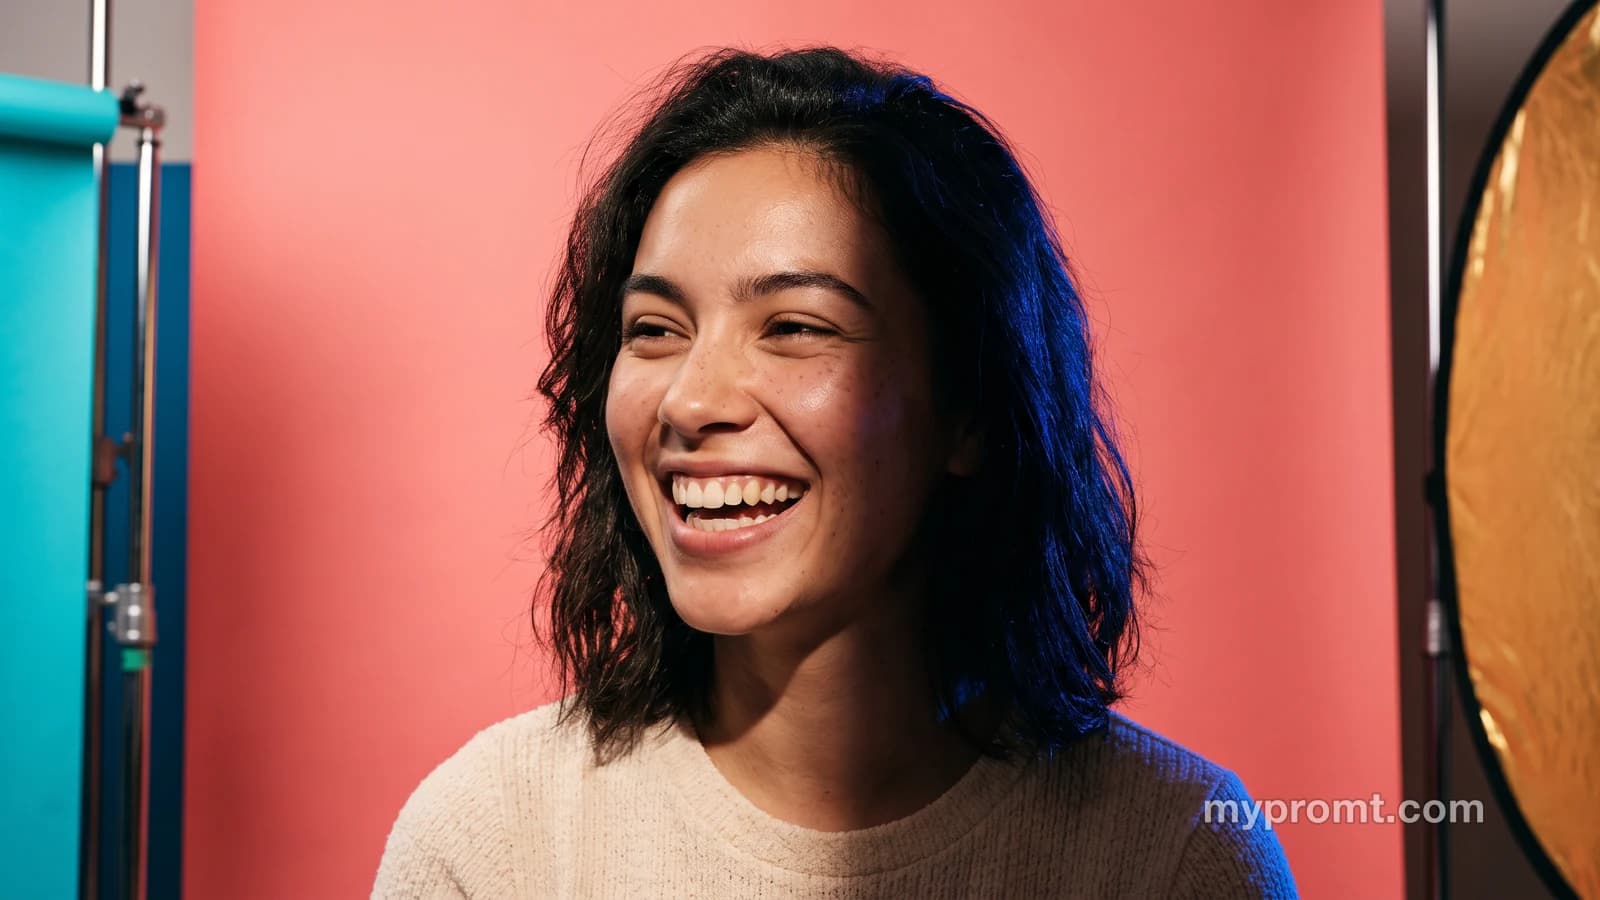
A studio is not a room. Strip out the branding and what you are renting is control: the ability to put one light exactly where you want it, make it hard or soft, and decide how much of the shadow side gets filled.
That control is nameable. Which is why a prompt can reproduce a studio look from an ordinary photo, and why "studio lighting" on its own cannot — it is a category, not a setup.
The short version: name the direction, the hardness and the fill. Everything below is seven ways to combine those three.
The three variables
Direction. Where the light comes from relative to the face. Front, 45 degrees, dead sideways, above, behind. This single choice does more to a portrait than anything else in the frame.
Hardness. The size of the source relative to the subject. A bare bulb is hard: edges of shadow are sharp, skin texture is exaggerated. A metre-wide softbox is soft: shadows fade gradually, skin smooths. Hardness is not brightness, and conflating the two is the most common mistake.
Fill. How much light reaches the shadow side. None means half the face disappears into black. A lot means an even, commercial, almost shadowless look. This ratio is the mood of the picture.
Name those three and you have specified a studio. Leave any of them out and the model picks the average, which is a softbox at 45 degrees — competent, forgettable, and the reason most AI portraits look the same.
1. One hard light, black background
The most dramatic and the cheapest to describe: a single bare source, nothing behind, no fill. Shadows land exactly where the light says they should.
Where it earns its place is texture — hard light is the only setup that renders skin as a surface rather than a tone.
See hard light on a black backdrop, split light across the profile where half the face goes into black, and two hard rims with almost no fill, which carves the jaw and shoulders out of the dark. For the extreme version, light placed entirely behind leaves a bright outline and nothing else.
2. The beauty setup
Frontal, soft, symmetrical. One big source above the face and a reflector below, so the shadows fall under the chin and nowhere else. This is what cosmetics advertising looks like, and it is deliberately flattering.
The clean clamshell is the textbook version on pure white. Beauty-dish lighting straight on is the frame magazines actually put on covers. Flat frontal ring light is the beauty-influencer variant, glossy and pastel.
3. Hollywood butterfly
One hard light, high and dead centre, throwing a small butterfly-shaped shadow under the nose. The old studio-system portrait look: glamorous, slightly severe, unmistakably deliberate.
The butterfly setup is the one to start from. Related in spirit: a hard overhead light and a wide brim, where the hat does the shaping instead of a flag.
4. Rembrandt and painterly
Light from one side and above, high enough that a small triangle of light appears on the shadow cheek. Four hundred years old and still the default for portraits that want gravity.
Mottled hand-painted canvas with one window-soft source is the painterly version. Warm earth backdrop with one big soft source is the calm, contemporary one. Heavy velvet drapery with one warm light takes it theatrical.
5. Gels and colour
Two sources with coloured film, no ambient light. Each gel owns one side of the face, and where they meet is the whole point of the picture.
Warm orange against deep teal is the classic duotone. A teal-gelled beam through haze makes the light itself visible, which is the cheapest route to cinematic. Hair mid-flight against saturated cobalt adds motion, and a backdrop split into two flat colours moves the colour decision behind the head instead of onto the face.
6. Shaped light
The light is not the subject — the shape you cut into it is. A slatted blind, a projector slide, a cut-out: anything that turns an even beam into a pattern.
Hard stripes thrown by a blind is the one everyone recognises. A slide projector throwing foliage across the face is the subtler cousin. A perfect circle of light behind the head is pure graphic geometry.
7. Frozen motion
A fast flash and something in the air. The setup is ordinary; the timing is everything, which is exactly the part a prompt handles for free.
Pigment clouds caught mid-air, a thrown arc of milk frozen beside the face, metres of silk mid-fall, and droplets on skin lit so every bead reads.
There is also the opposite approach — a long exposure with a light drawn through the air, then a flash to freeze the subject at the end.
The unconventional source
Worth knowing because it costs nothing: the light does not have to be a light. A laptop screen in a dark room throws cool illumination from below, which is both technically correct and immediately readable as late-night. Thin smoke lit from the side does the same job as haze at a fraction of the drama.
The rest of the collection lives in Photoshoot.
What the prompt still has to lock
Naming a setup is not the whole prompt. Three lines do the remaining work.
Keep the face. The setup changes the light, not the person. Say so, or the model takes the geometry of the face as negotiable.
Keep the skin. Studio words pull models toward retouched, poreless output. Ask for pores, fine lines and uneven sheen explicitly — covered in why AI portraits have the same polite smile.
Name one source. Two described sources produce two sets of reflections that disagree. If the setup needs two, say which does what.
Where it goes wrong
Soft everything. Asking for soft light and clean skin and even tone produces a photograph of nothing. Contrast is what makes a studio frame read as deliberate.
Hard light on a flat photo. Hard light exaggerates what is already there. If your source is evenly lit with no structure, there is nothing for it to exaggerate, and you get grey.
Backdrop confusion. "Studio" does not mean white. Decide the backdrop separately — black for drama, white for commercial, colour for graphic — and say it.
Common questions
Do I need a real studio photo to start from?
No, but you need a usable one: a clear subject, a background that is not busy, and enough resolution that the face holds up. The prompt replaces the light and the backdrop, not the focus.
Which setup for a profile picture?
Beauty or clamshell. They are flattering, symmetrical and legible at small sizes. Split light and silhouettes look excellent at full size and become an unidentifiable dark shape at 48 pixels.
Can I combine two setups?
Rarely well. Gels plus a gobo plus frozen motion is three competing ideas and the model will average them. One setup, executed fully, beats three suggested.
Why does my result look like a filter rather than a studio?
Almost always missing fill. A filter changes colour across the whole frame evenly; a studio changes how much light reaches one side of the face. If both sides are equally bright, no setup was applied.
Start with one hard light on black. It is the least forgiving setup on this list, which makes it the fastest way to learn whether your source photo has enough structure to work with — and the wider context for all of this is in the AI photoshoot guide.