7 Photo Effect Prompts: Turn Any Photo Into a Designed Visual
Seven effects that lock your subject and change only the rendering — ASCII, halftone, thermal, riso, CRT, collage — plus the rule behind all of them.
mypromt
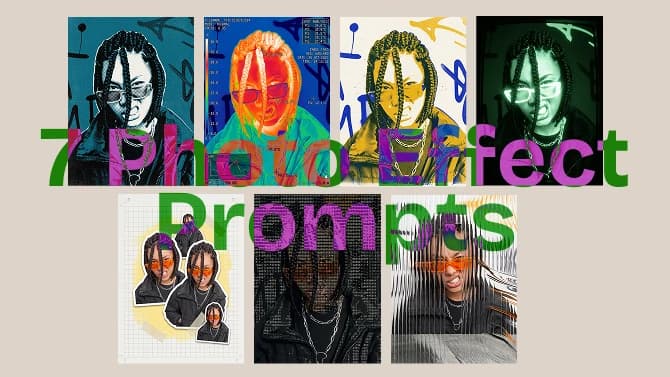
A filter adjusts a photo. These seven rebuild it.
Each prompt below locks the subject — the person, product or scene, their pose and the framing — and replaces only the rendering. The result is a designed visual rather than a photograph with a preset on top, and the thing in the picture stays recognisable throughout.
Each one opens with the same Keep clause — the line that pins your subject in place — and that opening is quoted below so you can see how the structure works. The full text of every prompt sits on its card, with the before and after of this exact portrait.
How to use them
- Pick a photo. Any photo works, but one clear subject and good contrast gives the strongest result.
- Open the card for the effect you want and copy its prompt.
- Upload your photo to your image model and paste the prompt as the instruction.
- Replace anything in [SQUARE BRACKETS] with your own choice.
- Generate. If the result looks too subtle, add
make the effect stronger and more pronouncedat the end.
Models: Nano Banana 2 and GPT Image 2 handle these best. All seven are model-agnostic and run as image-to-image edits.
Output format: 3:4 portrait, or 4:5 for social. Every prompt assumes the uploaded image is the reference and the subject does not change.
The rule that makes them work
Every prompt here follows the same three-part structure, and it is the reason they hold together.
Keep — what must stay identical: subject, pose, framing.
Change — the rendering, texture and colour treatment.
Add — the details that sell the effect: grain, overlays, print artefacts.
That third part is what separates a filter from a finish. A filter changes colour. A finish adds the evidence of a process — dots from a printing screen, scanlines from a monitor, torn tape on a page. Write your own effects with the same three parts and your results get dramatically more consistent.
1. ASCII
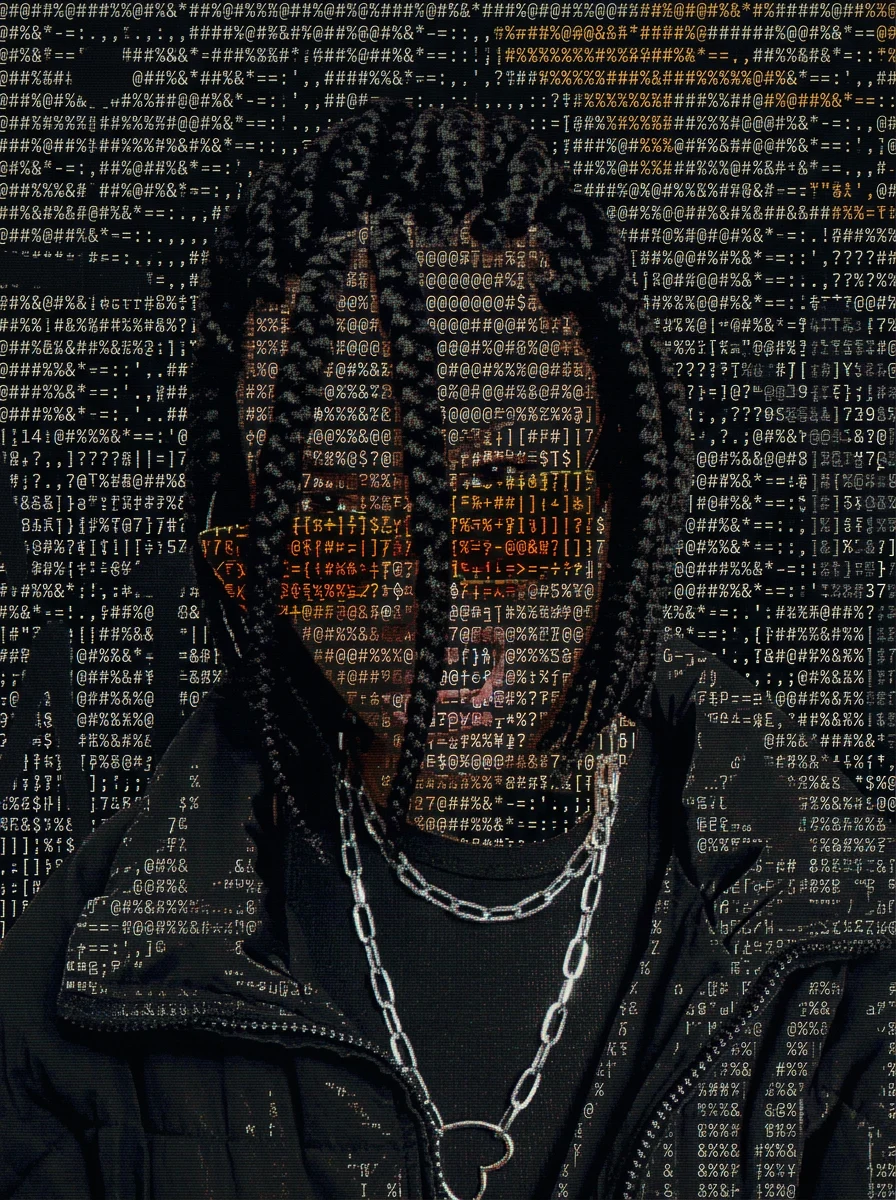
Rebuilds the photo out of tiny typed characters. Reads as a photograph from a distance and as text up close.
Recreate the uploaded image as an ASCII art rendering while keeping the exact same subject, pose, outfit, framing and background layout. …
Watch out for: low-contrast source photos. Character density is driven by luminance, so a flatly lit image has nothing to translate.
Full prompt and before/after: ASCII character portrait effect — the complete prompt, plus the before/after slider on this exact portrait.
2. Fluted glass
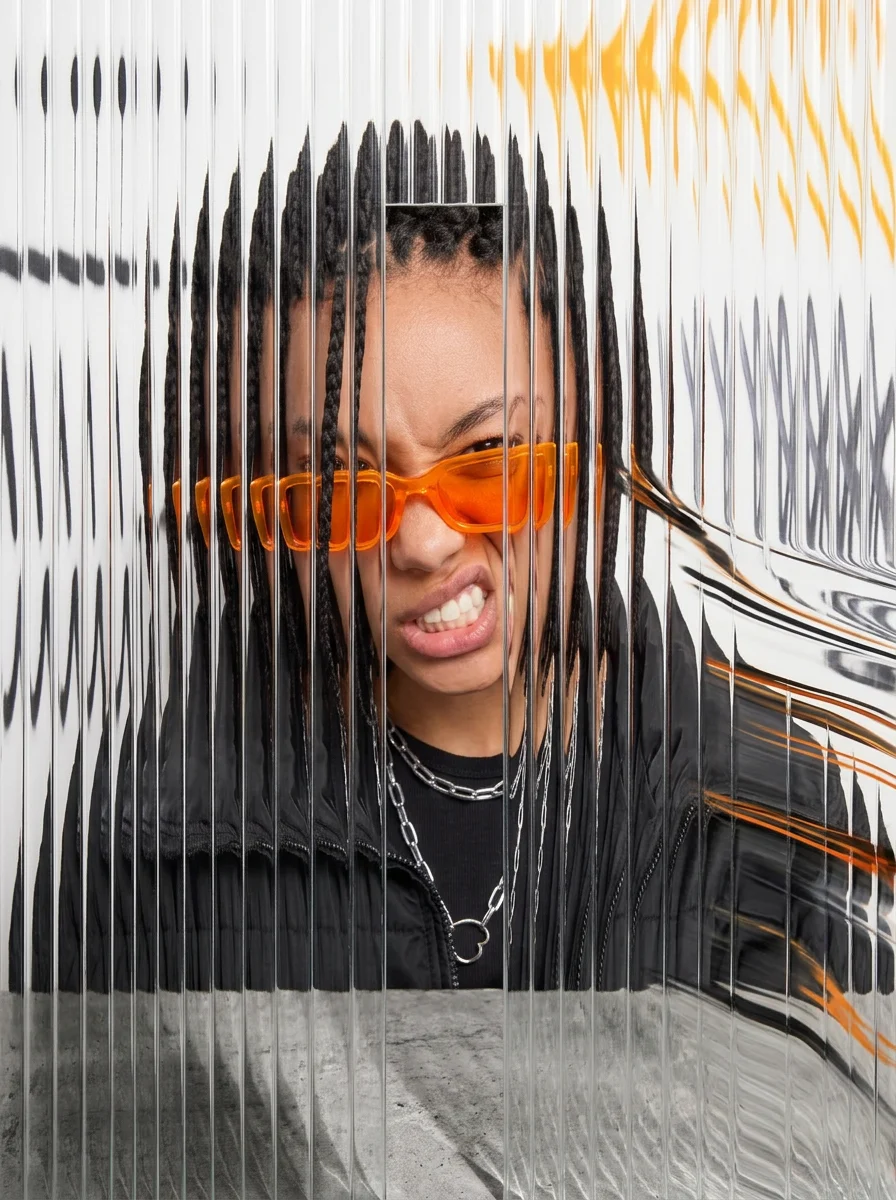
Puts the subject behind vertical reeded glass, so parts of the image repeat, stretch and smear into slices.
Recreate the uploaded image as if it were photographed through a panel of vertical fluted reeded glass, keeping the same subject, pose, outfit, colours and background. …
Watch out for: losing the face. The instruction to keep the centre sharp is doing the heavy lifting — if your result is unreadable, the model over-applied the distortion and the fix is to re-run rather than to soften the prompt.
Full prompt and before/after: Fluted glass portrait effect — the complete prompt, plus the before/after slider on this exact portrait.
3. Halftone
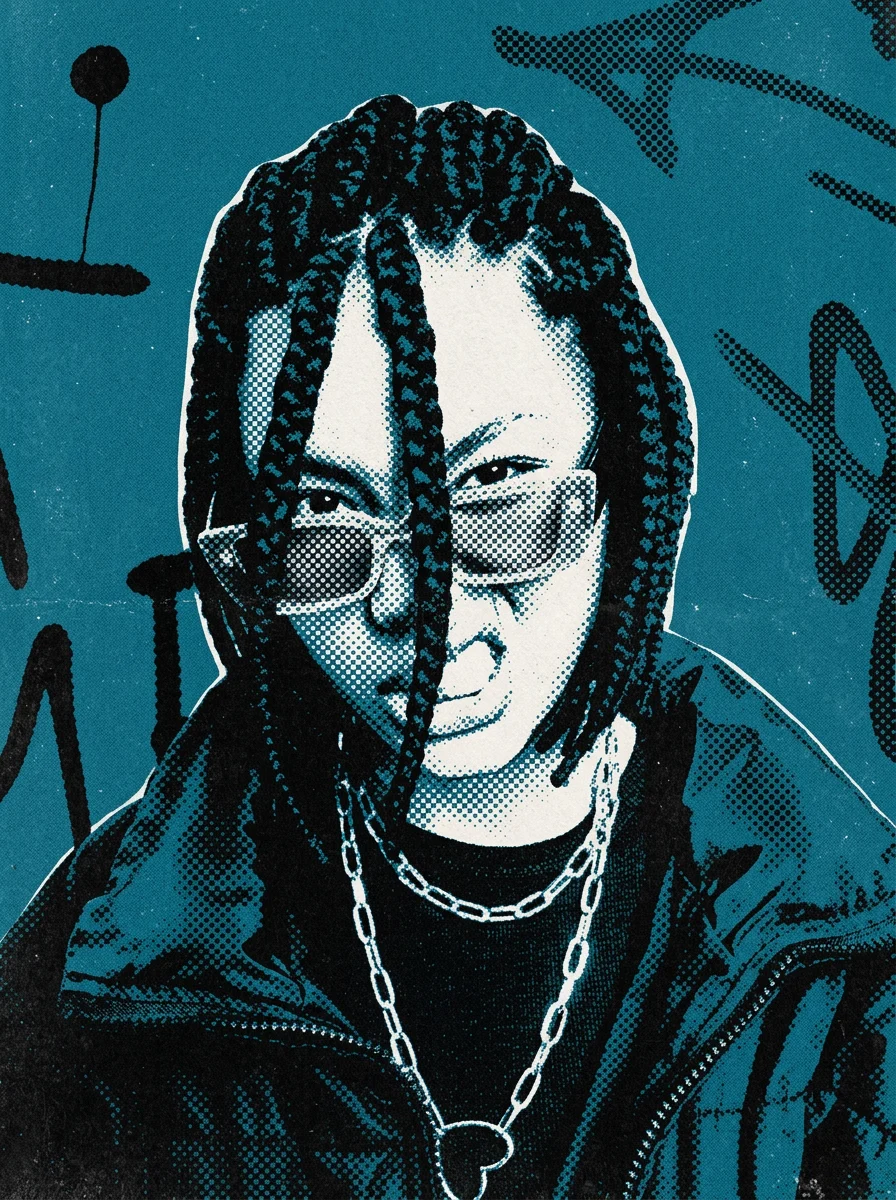
A coarse two-colour print with a visible dot screen and paper texture.
Recreate the uploaded image as a coarse two colour halftone print, keeping the exact same subject, pose, composition and background. …
Watch out for: tight crops. Large dots eat fine facial detail, so this works better on a half-body frame than on a close-up.
Full prompt and before/after: Two-colour halftone print effect — the complete prompt, plus the before/after slider on this exact portrait.
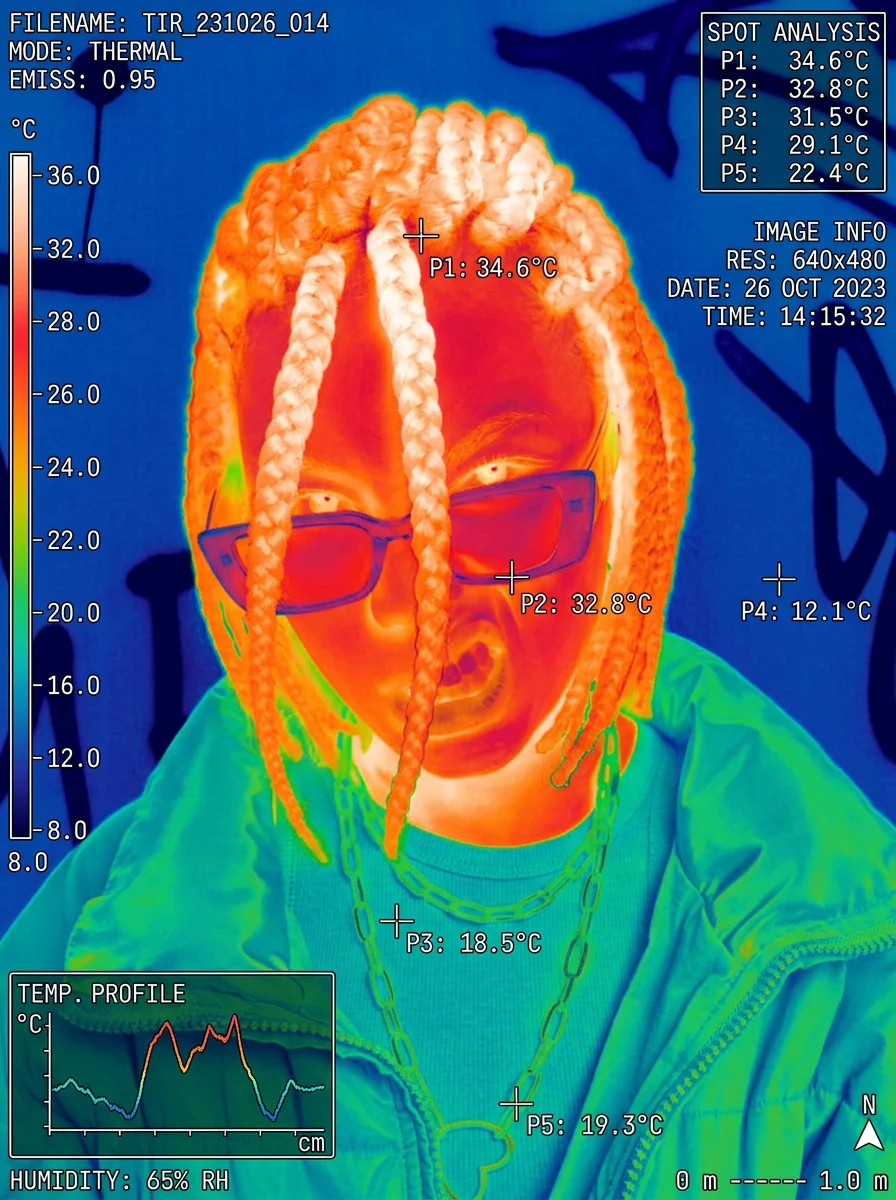
4. Thermal heatmap
Renders the photo as an infrared camera capture, complete with a measurement interface.
Recreate the uploaded image as a thermal infrared camera capture, keeping the exact same subject, pose, clothing shape, framing and background architecture. …
Watch out for: the text. Interface labels are where models still garble letters and numbers, so expect to generate two or three times before the readout is clean. This is the most demanding prompt of the seven and the most impressive when it lands.
Full prompt and before/after: Thermal camera photo effect — the complete prompt, plus the before/after slider on this exact portrait.
5. Risograph
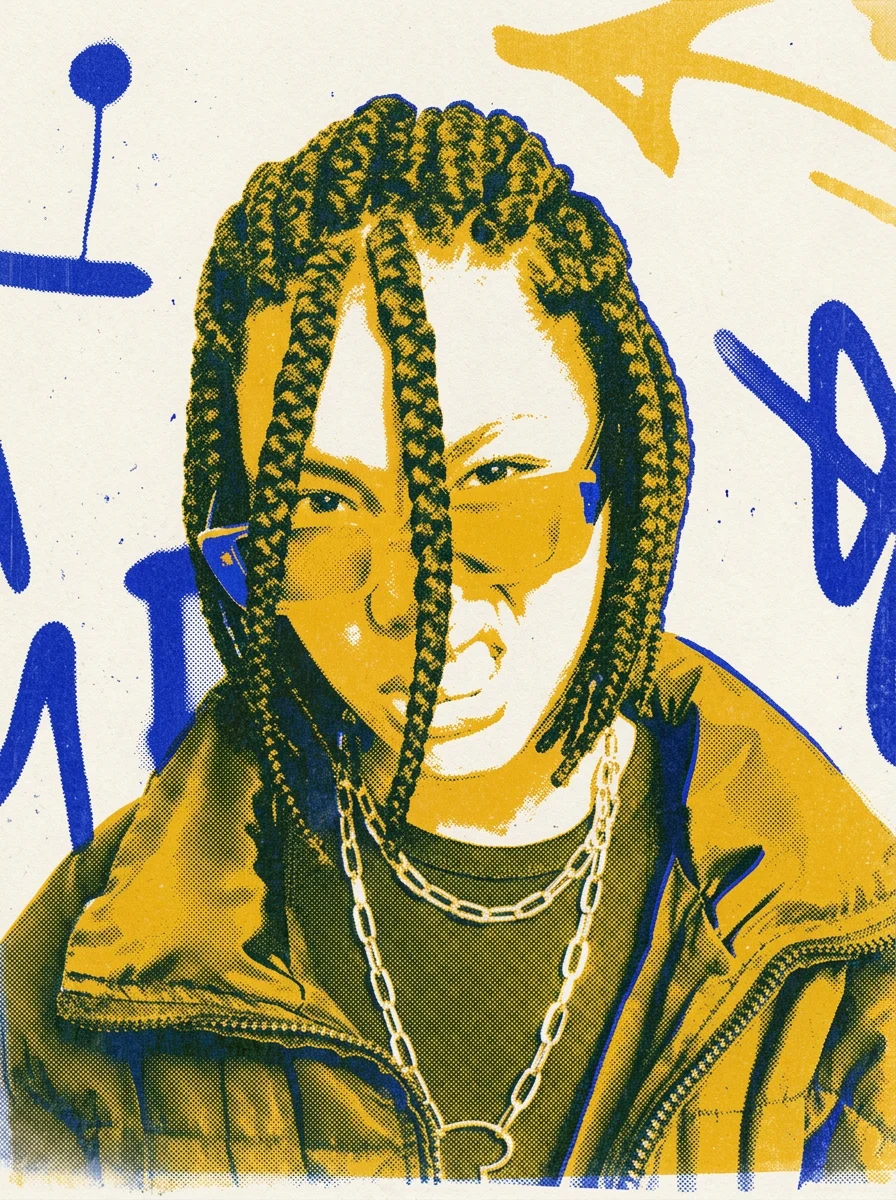
A two-colour riso print with flat spot inks and visible misregistration.
Recreate the uploaded image as a two colour risograph print, keeping the same subject, pose, composition and background. …
Watch out for: depth. Riso flattens everything by design, so if the appeal of your photo is atmosphere or haze, this will delete it.
Full prompt and before/after: Two-colour risograph print effect — the complete prompt, plus the before/after slider on this exact portrait.
6. CRT screen
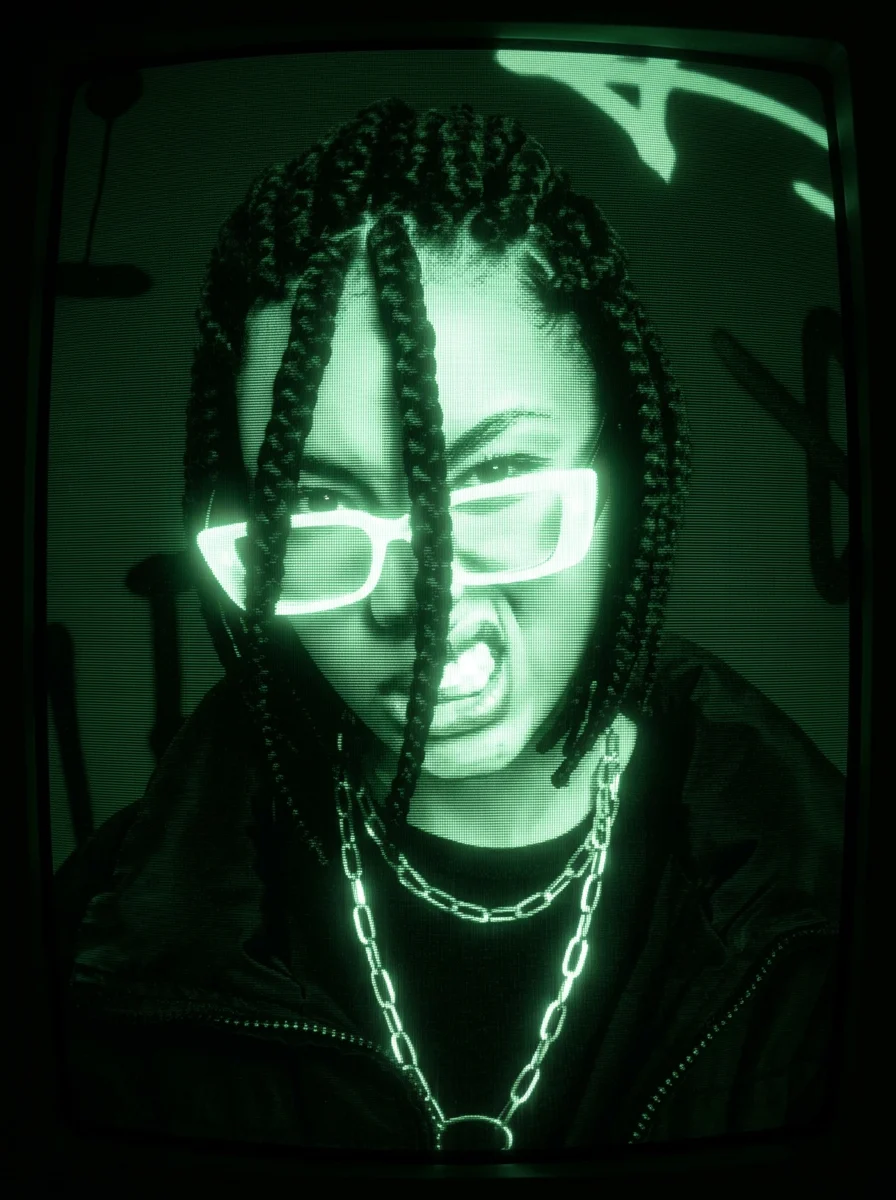
Makes the photo look like it is displayed on an old phosphor monitor and shot off the glass.
Recreate the uploaded image as if it were displayed on an old monochrome CRT phosphor monitor and photographed off the curved glass, keeping the same subject, pose, expression and framing. …
Watch out for: dark source photos. The prompt crushes shadows to pure black, so anything already underexposed loses the subject entirely. Start from something brightly lit.
Full prompt and before/after: CRT phosphor screen effect — the complete prompt, plus the before/after slider on this exact portrait.
7. Scrapbook collage
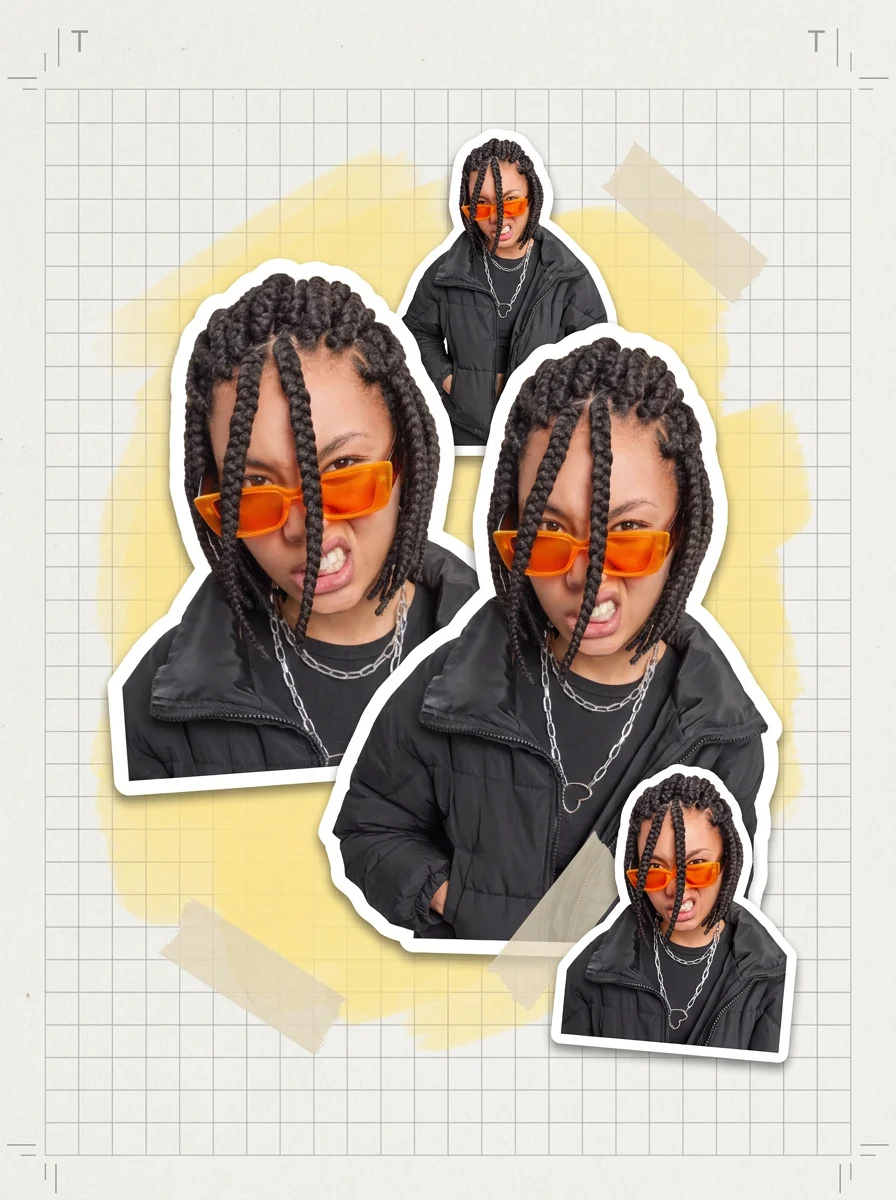
Cuts the subject out several times at different sizes and arranges them as a sticker collage on a designed page.
Turn the uploaded image into a cut out sticker collage, keeping the same subject, outfit, colours and styling in every cut out. …
Watch out for: a cluttered background. The model has to cut the subject out cleanly several times, and it can only do that when the silhouette separates from what is behind it.
Where these actually get used
Not as profile pictures, mostly. The practical uses are covers and banners, where a treated image survives being cropped and overlaid with text in a way photographs rarely do; print work like cards, posters and merch, where the reduction and print artefacts hold up at size; and content series, where one treatment applied consistently reads as art direction rather than indecision.
If you want a profile picture out of this list, halftone and CRT are the two that stay legible at 48 pixels. ASCII and the glass effect disappear at that scale.
Common questions
Do these work on any photo?
They work on photos with one clear subject and a readable silhouette. Every effect here works by throwing information away, so a busy, evenly lit snapshot has nothing to reduce. Contrast between subject and background is the single best predictor of a good result.
Will the person still be recognisable?
Yes. That is the point of the Keep clause at the top of every prompt: the geometry of the face and the pose survive, and only the rendering changes. The glass effect is the one that distorts most, which is why its prompt explicitly protects the centre of the face.
Do I need Nano Banana specifically?
No, but it helps. These are image-to-image edits, so any model that accepts a photo plus an instruction will run them. Nano Banana 2 and GPT Image 2 hold the subject most reliably while changing everything around it. More on choosing a model in the AI photoshoot guide.
Can I use the results commercially?
Check the licence of the tool you run the prompt in, since that is where the terms live. If you plan to print and sell, confirm you also hold the rights to the source photograph — an effect does not change who owns what is underneath it.
How do I write my own effect?
Use the same three parts: Keep, Change, Add. Name what must survive, name the new rendering, then list the physical artefacts of the process you are imitating. That last list is what most people skip, and it is the difference between a photo that looks processed and one that looks made.
For effects applied to a full scene rather than a treatment layer — location portraits, product shots, styled sets — the Photoshoot and Products collections cover that side, each with the before and after visible before you copy anything.
Full prompt and before/after: Cut-out sticker collage effect — the complete prompt, plus the before/after slider on this exact portrait.